Workspaces
Workspaces are where you manage your infrastructure configurations and their associated resources.
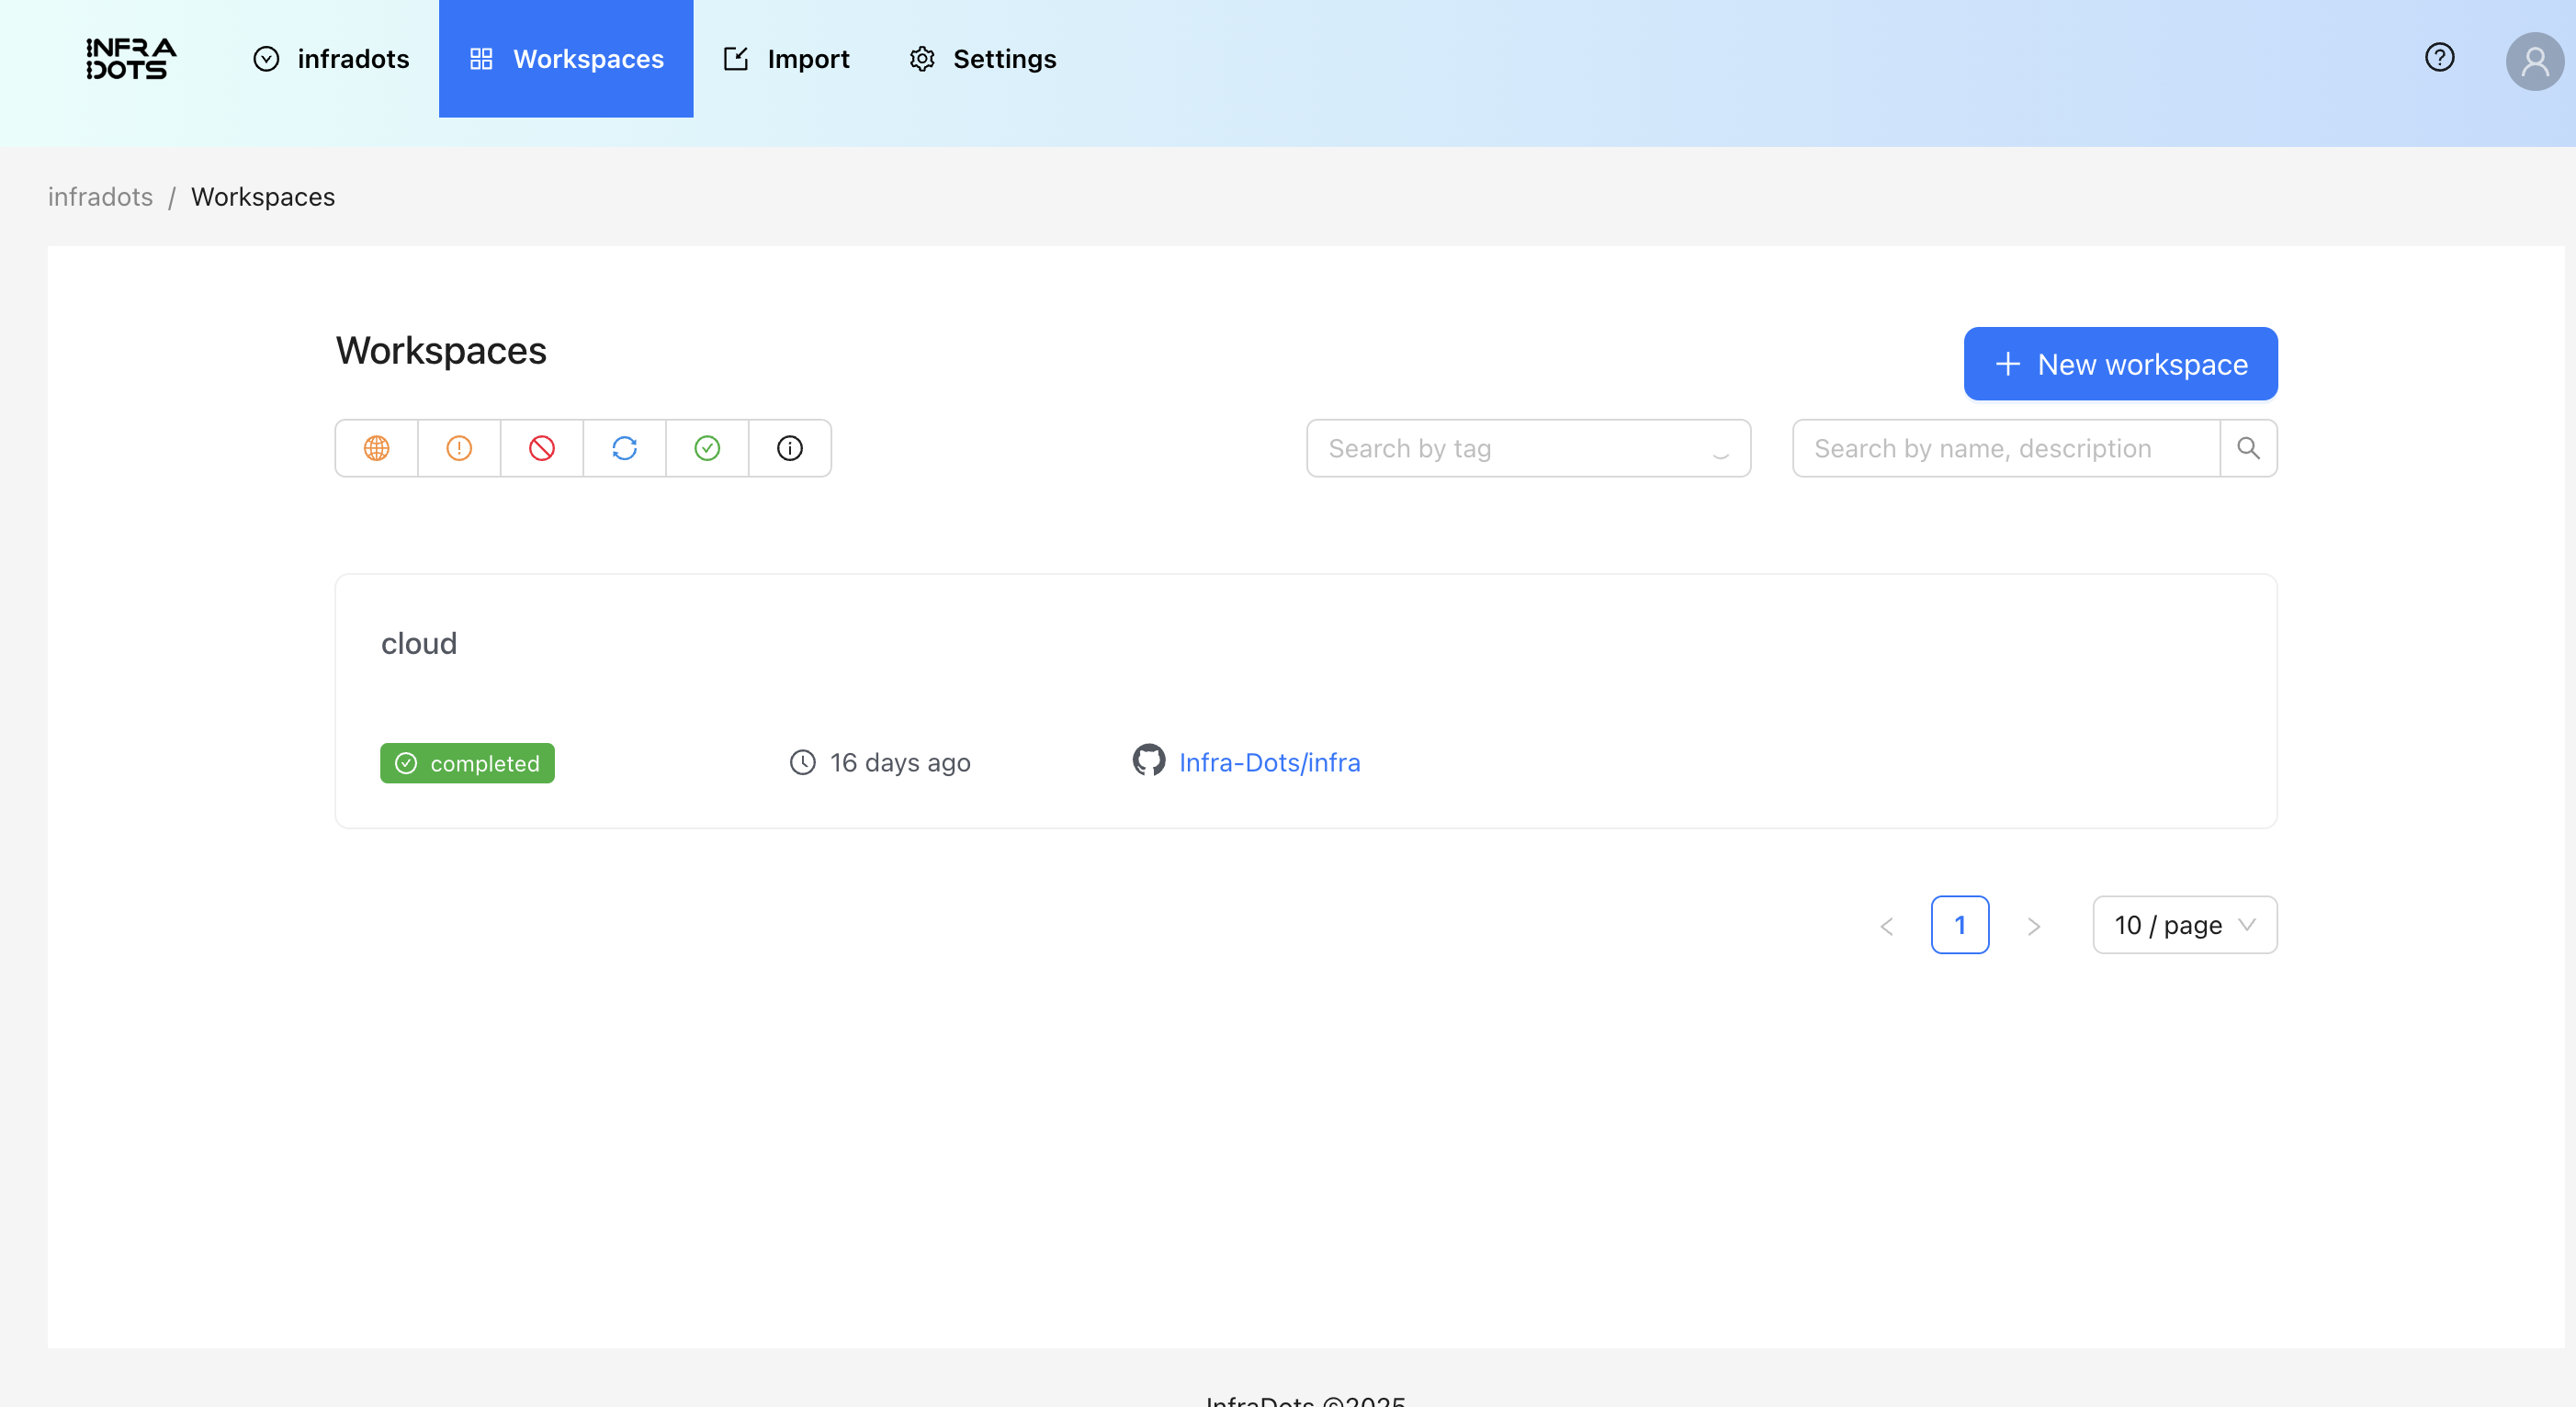
What is a Workspace?
A workspace in InfraDots Platform represents a single infrastructure configuration. Each workspace:
- Has its own Terraform state
- Contains its own variables
- Can be connected to a specific branch in your version control system
- Tracks the history of infrastructure changes
Managing Workspaces
Creating a Workspace
- Navigate to your organization
- Click "Create Workspace"
- Enter a name and description
- Connect to your version control system (optional)
- Specify the source repository and branch
- Select the Terraform version
- Configure additional settings like execution mode and auto-apply
- Click "Create Workspace"
Workspace Settings
- General: Update name, description, and other basic settings
- Version Control: Connect to GitHub, GitLab, or other VCS providers
- Execution Mode: Choose between remote or local execution
- Terraform Version: Select the version of Terraform to use
- Auto Apply: Enable to automatically apply changes after a successful plan
- Worker Pool: Assign a specific worker pool for job execution
- Tags: Add key-value pairs to organize and filter your workspaces
Workspace Operations
- Plan: Preview changes before applying them
- Apply: Apply the proposed changes to your infrastructure
- Destroy: Remove all resources managed by this workspace
- Lock/Unlock: Prevent concurrent operations on the workspace
Variables
Variables allow you to customize your infrastructure configurations without changing the code.
Types of Variables
InfraDots Platform supports two types of variables:
- Terraform Variables: Used as input variables in your Terraform configurations
- Environment Variables: Set as environment variables during Terraform execution
For example, if your Terraform configuration expects these variables:
variable "region" {
  type    = string
  default = "us-east-1"
}

variable "instance_type" {
  type    = string
  default = "t3.micro"
}
You can set them in InfraDots as Terraform variables with keys region and instance_type. Environment variables like AWS_ACCESS_KEY_ID and AWS_SECRET_ACCESS_KEY are set as Environment type variables and marked as sensitive.
Variable Scopes
Variables can be defined at two levels:
- Organization Variables: Applied to all workspaces in the organization
- Workspace Variables: Applied only to a specific workspace (override organization variables with the same name)
Managing Variables
Creating Variables
- Navigate to your organization or workspace
- Click "Variables"
- Click "Add Variable"
- Enter the key and value
- Select the category (Terraform or Environment)
- Toggle "Sensitive" if the value contains sensitive information
- Toggle "HCL" if the value should be parsed as HashiCorp Configuration Language
- Add an optional description
- Click "Save"
Editing Variables
- Navigate to the variables page
- Find the variable you want to edit
- Click the edit icon
- Update the value or settings
- Click "Save"
Deleting Variables
- Navigate to the variables page
- Find the variable you want to delete
- Click the delete icon
- Confirm the deletion
📝 Note
[!note] Organization variables act as defaults. If a workspace defines a variable with the same key, the workspace value takes precedence.
Schedules
Schedules allow you to automate infrastructure operations on a recurring basis.
What are Schedules?
Schedules in InfraDots Platform let you automatically run operations like plan, apply, or refresh at specified times. This is useful for:
- Regular infrastructure updates
- Scheduled maintenance windows
- Periodic state refreshes
- Nightly builds or deployments
Managing Schedules
Creating a Schedule
- Navigate to your workspace
- Click "Schedules"
- Click "Add Schedule"
- Select the operation type (Plan, Apply, Destroy, or Refresh)
- Configure the schedule using cron syntax or the schedule builder
- Enable or disable the schedule
- Click "Save"
Schedule Types
- Plan Only: Generate a plan without applying changes
- Plan and Apply: Generate a plan and apply changes if successful
- Destroy: Plan to destroy resources
- Refresh: Refresh state only
Editing Schedules
- Navigate to the schedules page
- Find the schedule you want to edit
- Click the edit icon
- Update the settings
- Click "Save"
Enabling/Disabling Schedules
- Navigate to the schedules page
- Find the schedule you want to enable/disable
- Toggle the enable/disable switch
Deleting Schedules
- Navigate to the schedules page
- Find the schedule you want to delete
- Click the delete icon
- Confirm the deletion