Getting Started
Welcome to InfraDots Platform! This guide will walk you through everything you need to know to get up and running with our infrastructure management platform.
Step 1: Create Your Account
To begin using InfraDots Platform, you'll need to create an account. We offer three convenient sign-in options:
- Google Account: Sign in with your existing Google profile
- GitHub Account: Sign in with your existing GitHub account
- Email: Create an account with an email and password
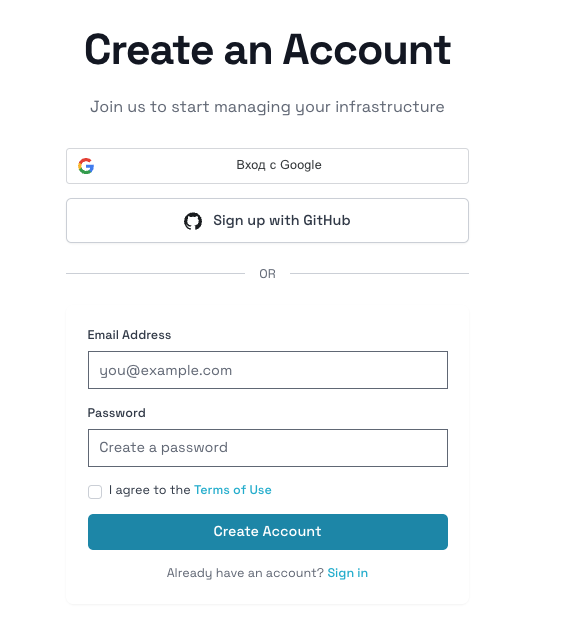 Simply visit our platform and click "Sign Up" to get started with either option.
Step 2: Set up your first organization
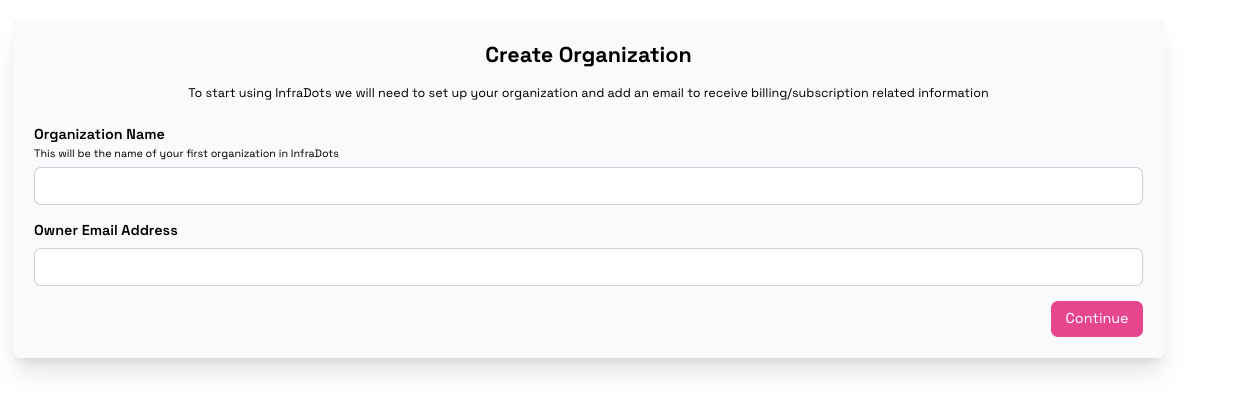 After creating your account, you continue with setting up your first Organization and subscription. For the subscription you can start with a free trial or you can select a subscription plan immediately and receive a bonus. InfraDots Platform offers flexible pricing options:
Payment Options
You have two ways to get started:
- Starter Tier: Begin with our starter tier that will always be free and is built specifically for small teams.
- Choose another plan: Choose one of our other plans like Growth or Enterprise and set up a subscription directly
- Growth
- Enterprise
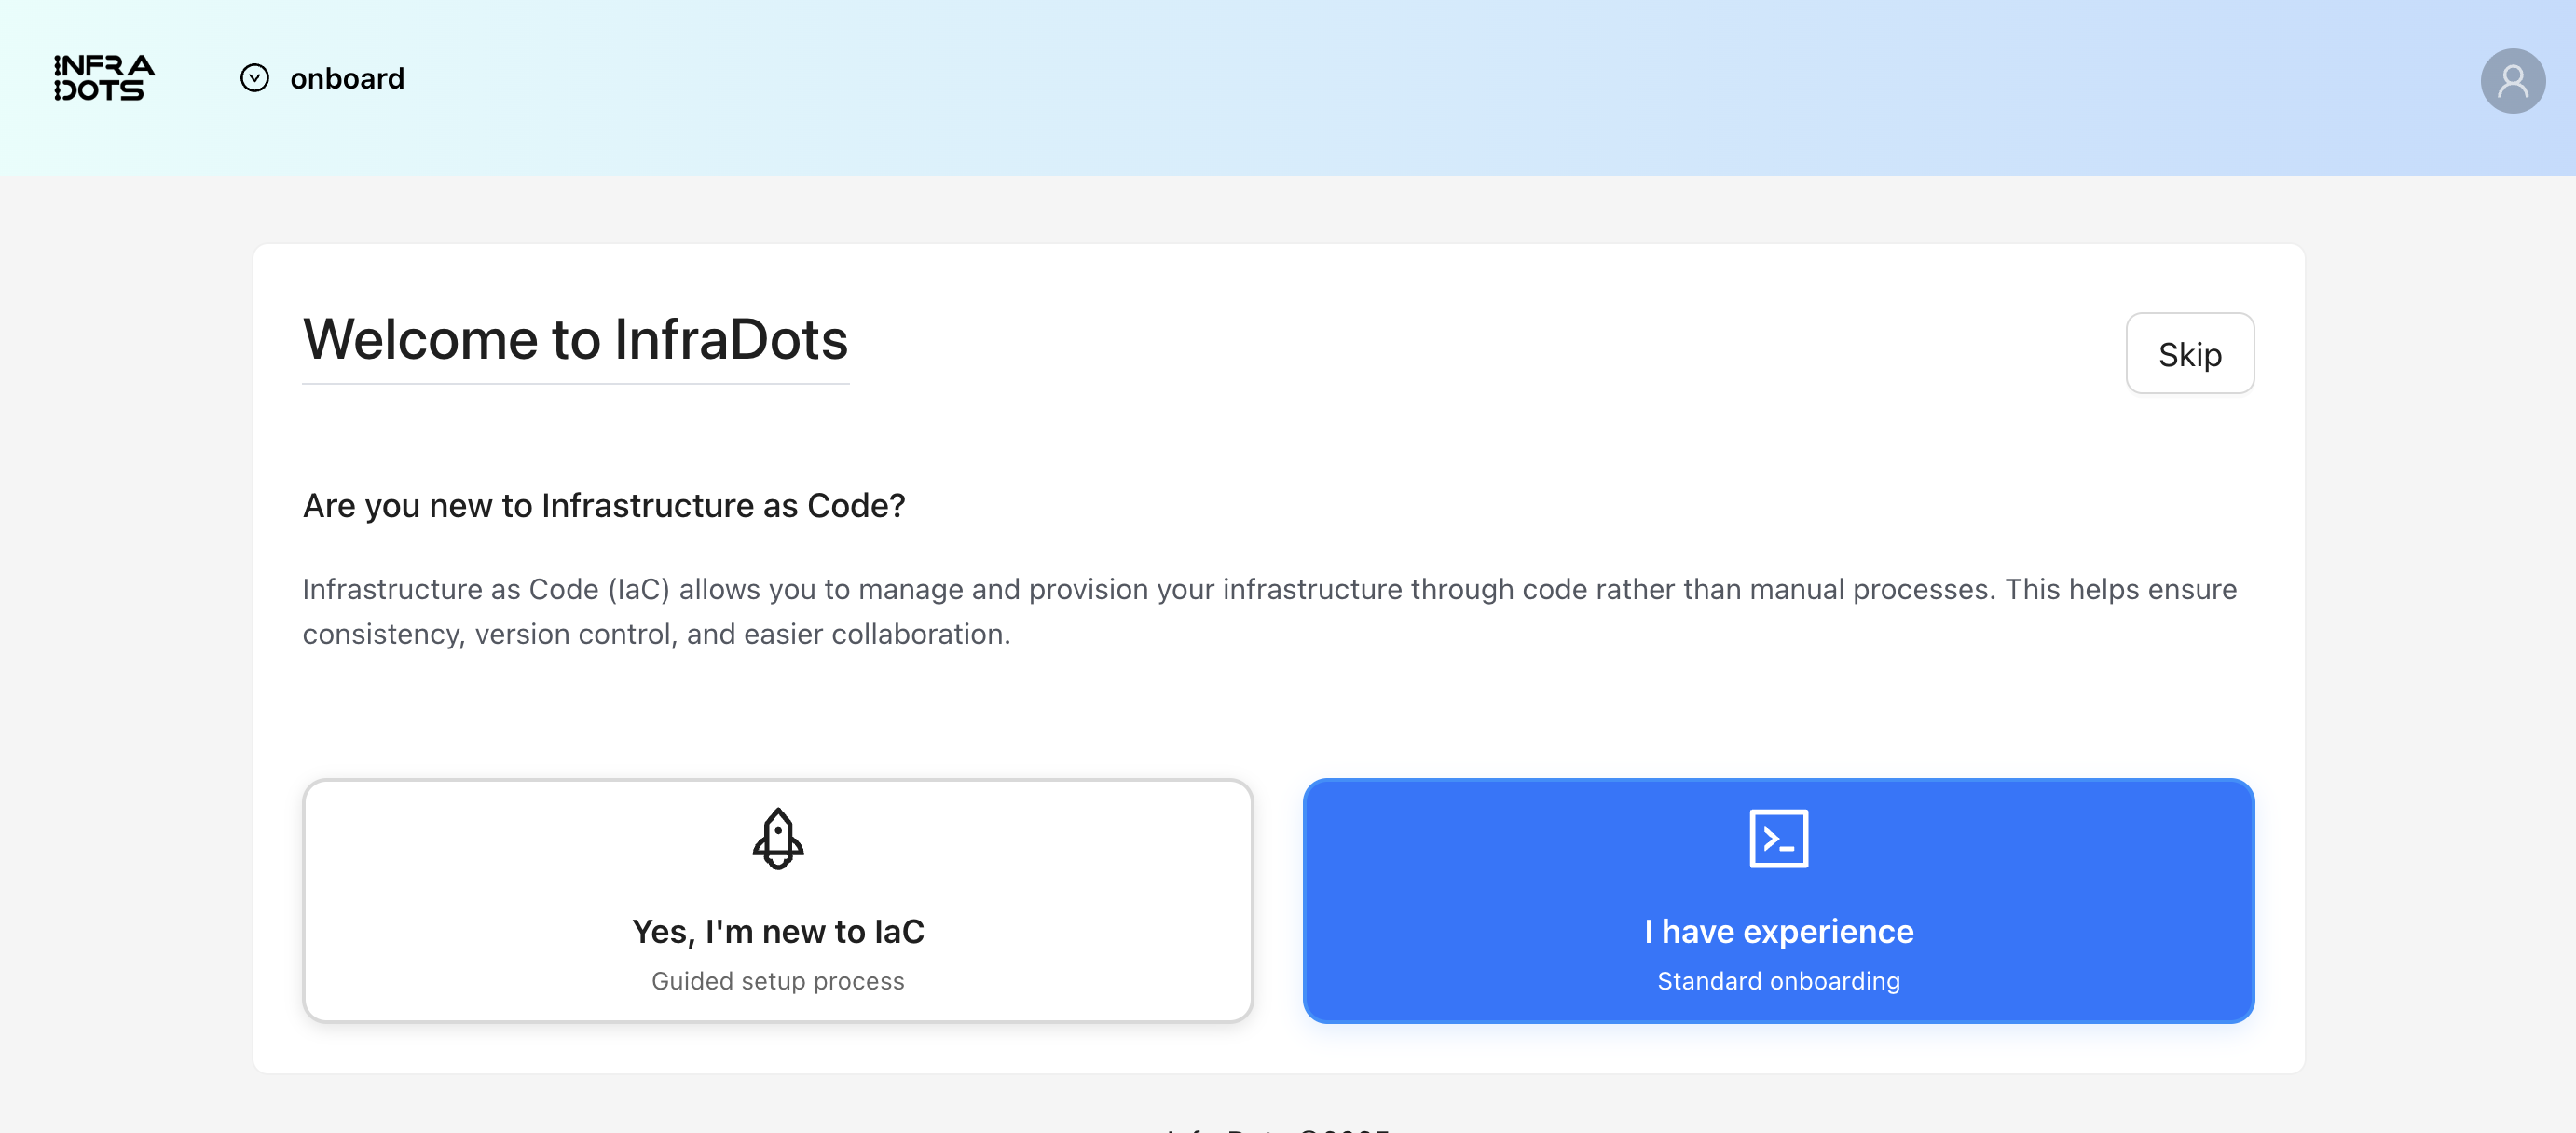
Step 3: Optional Onboarding Flow
After creating your organization, InfraDots Platform offers an optional onboarding flow designed to help you get familiar with the platform's key features. This onboarding is perfect for new users but can be skipped if you're more experienced with infrastructure management platforms.
What's Included in Onboarding
The onboarding has two major flows:
- Guided onboarding - for first time users using our AI to provision infrastructure on your selected cloud
- Custom onboarding - you choose which components to import and create
- Workspace Import: Import infrastructure code from other providers
- VCS Integration: Connect your version control system (GitHub, GitLab, etc.)
- Team Collaboration: Add team members and configure permissions
- Monitoring and Management: Set up monitoring and understand the dashboard
Skipping: if you're an experienced user or prefer to explore the platform independently you may skip the onboarding by clicking the Skip button
Platform Architecture
The diagram below shows how InfraDots Platform components work together:
┌─────────────────────────────────────────────────────────────┐
│                     InfraDots Platform                      │
│                                                             │
│  ┌──────────────┐    ┌──────────────┐    ┌──────────────┐   │
│  │ Organization │───▶│  Workspaces  │───▶│     Runs     │   │
│  │              │    │              │    │  Plan/Apply  │   │
│  └──────┬───────┘    └──────┬───────┘    └──────┬───────┘   │
│         │                   │                   │           │
│         ▼                   ▼                   ▼           │
│  ┌──────────────┐    ┌──────────────┐    ┌──────────────┐   │
│  │   Members    │    │  Variables   │    │ Worker Pools │   │
│  │ & Permissions│    │  & State     │    │  (Execution) │   │
│  └──────────────┘    └──────────────┘    └──────────────┘   │
│                                                             │
│  ┌──────────────┐    ┌──────────────┐    ┌──────────────┐   │
│  │VCS Providers │    │ IDP Agents   │    │ Integrations │   │
│  │ GitHub/GitLab│    │  AI Reviews  │    │  Webhooks    │   │
│  └──────────────┘    └──────────────┘    └──────────────┘   │
└─────────────────────────────────────────────────────────────┘
How a Run Works
- Trigger — A VCS push or manual action triggers a run
- Plan — InfraDots generates a Terraform plan showing proposed changes
- Review — IDP Agents analyze the plan for best practices and security
- Apply — After approval, changes are applied to your infrastructure
- Notify — Integrations send webhooks to external services
Next Steps
Once you've completed the initial setup, you're ready to:
- Terraform & OpenTofu basics: Learn the core concepts if you're new to infrastructure as code
- Your first run: Run plan and apply in InfraDots step by step
- Create Workspaces: Set up your infrastructure configurations
- Connect VCS: Link your version control repositories
- Import Existing Infrastructure: Migrate from other providers
- Invite Team Members: Add collaborators to your organization
- Configure Integrations: Set up third-party service connections
Getting Help
If you need assistance at any point:
- Check out our comprehensive documentation in the other sections
- Use the built-in help system within the platform
- Contact our support team for personalized assistance